Navigate to the Salesforce login page, enter your username and password, then click the “Login” button to sign in.
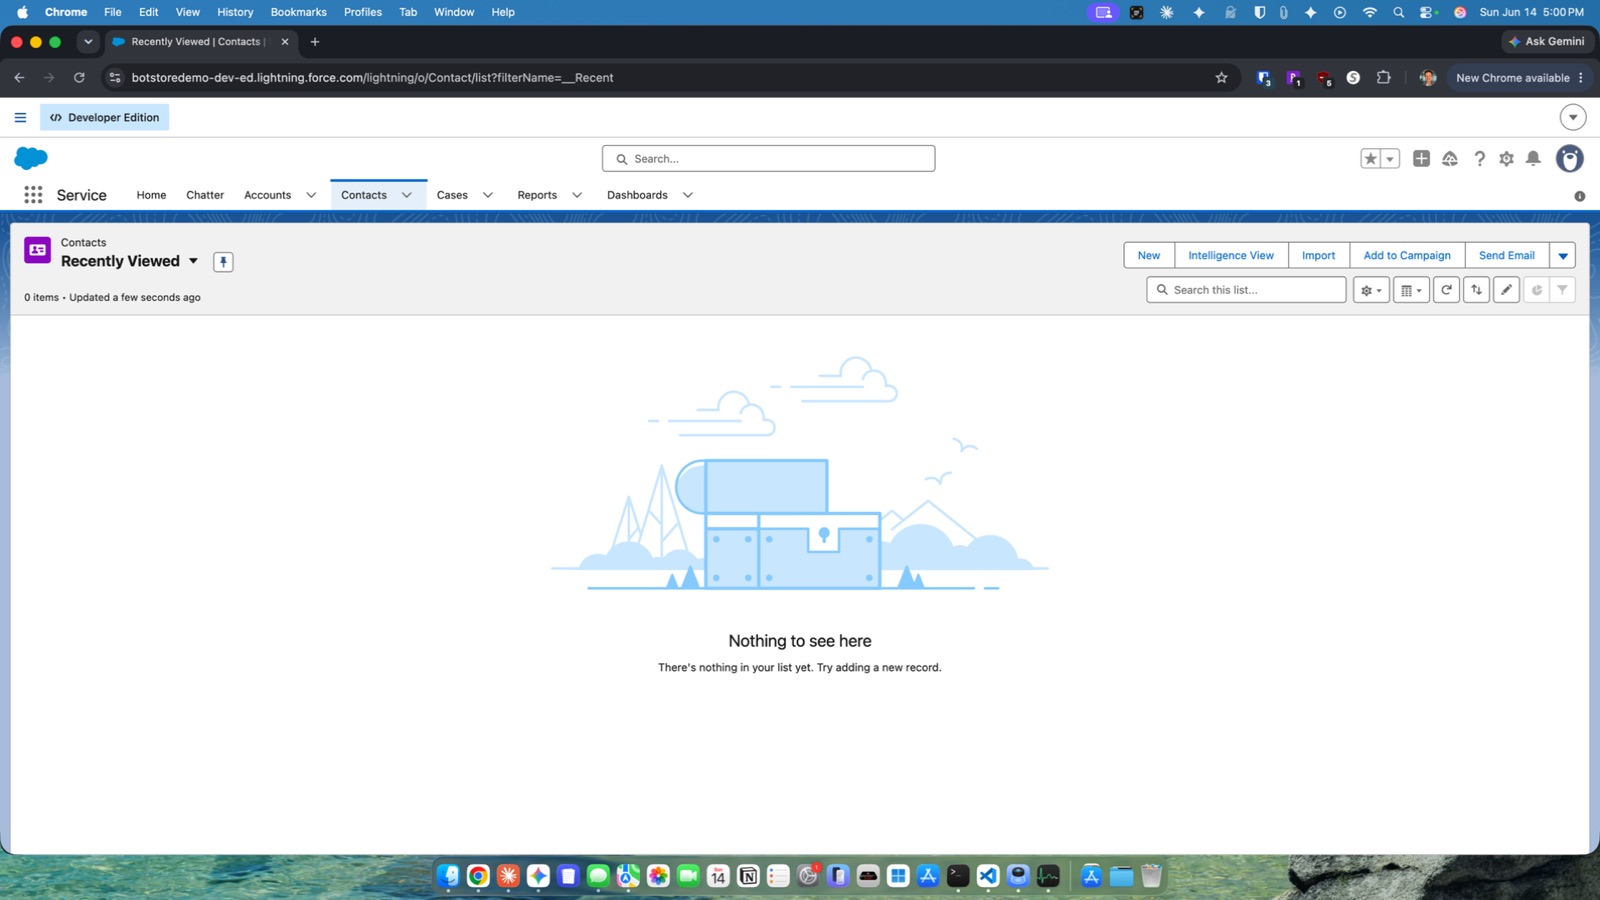
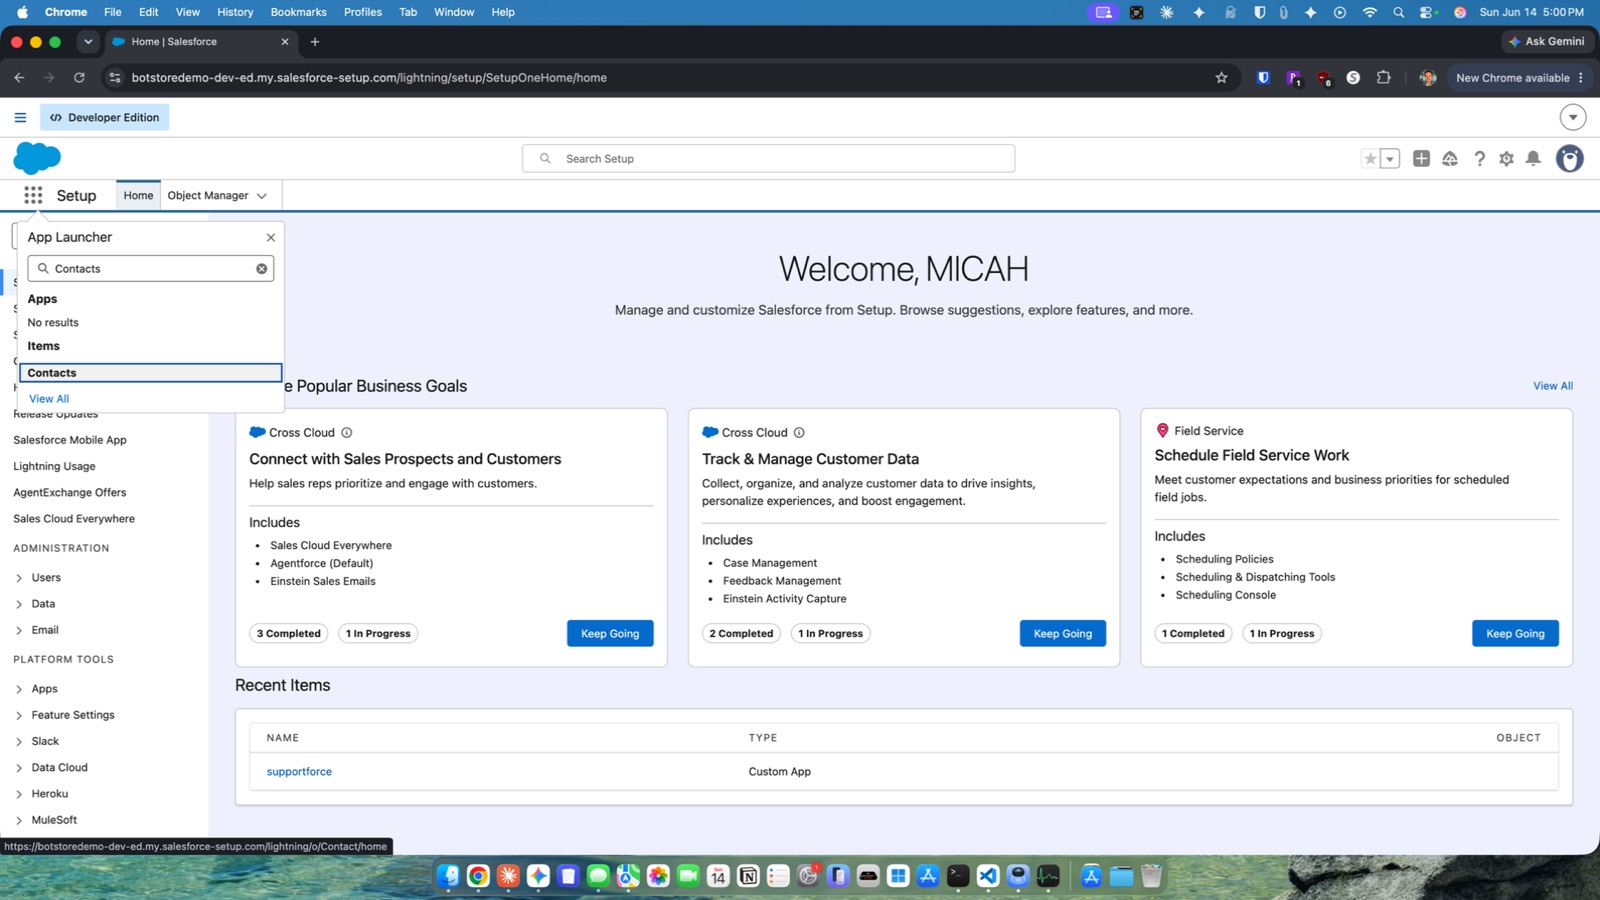
Click the App Launcher (nine-dot grid icon) in the top navigation bar, then search for and select “Contacts” to navigate to the Contacts section.
On the Contacts page, click the “New” button to open the New Contact form.

Enter “Alex” as the first name, “Rivera” as the last name, associate the contact with the “TechDesk Services” account, and enter a mobile number and email address (alex.rivera@techservices.com).

Click “Save” to create the new contact and confirm it is associated with the TechDesk Services account.
On Alex Rivera’s contact page, click the “Log a Call” button, enter “New Business Opportunity” as the subject, add your call notes in the comment field, then click “Save” to log the call.
Scroll down on the contact page to verify the logged call appears in the activity history, then click the account menu dropdown in the top-right corner and select “Log Out” to sign out of Salesforce.